
Como reciclar resíduos de impressão 3D com um mini triturador de mesa
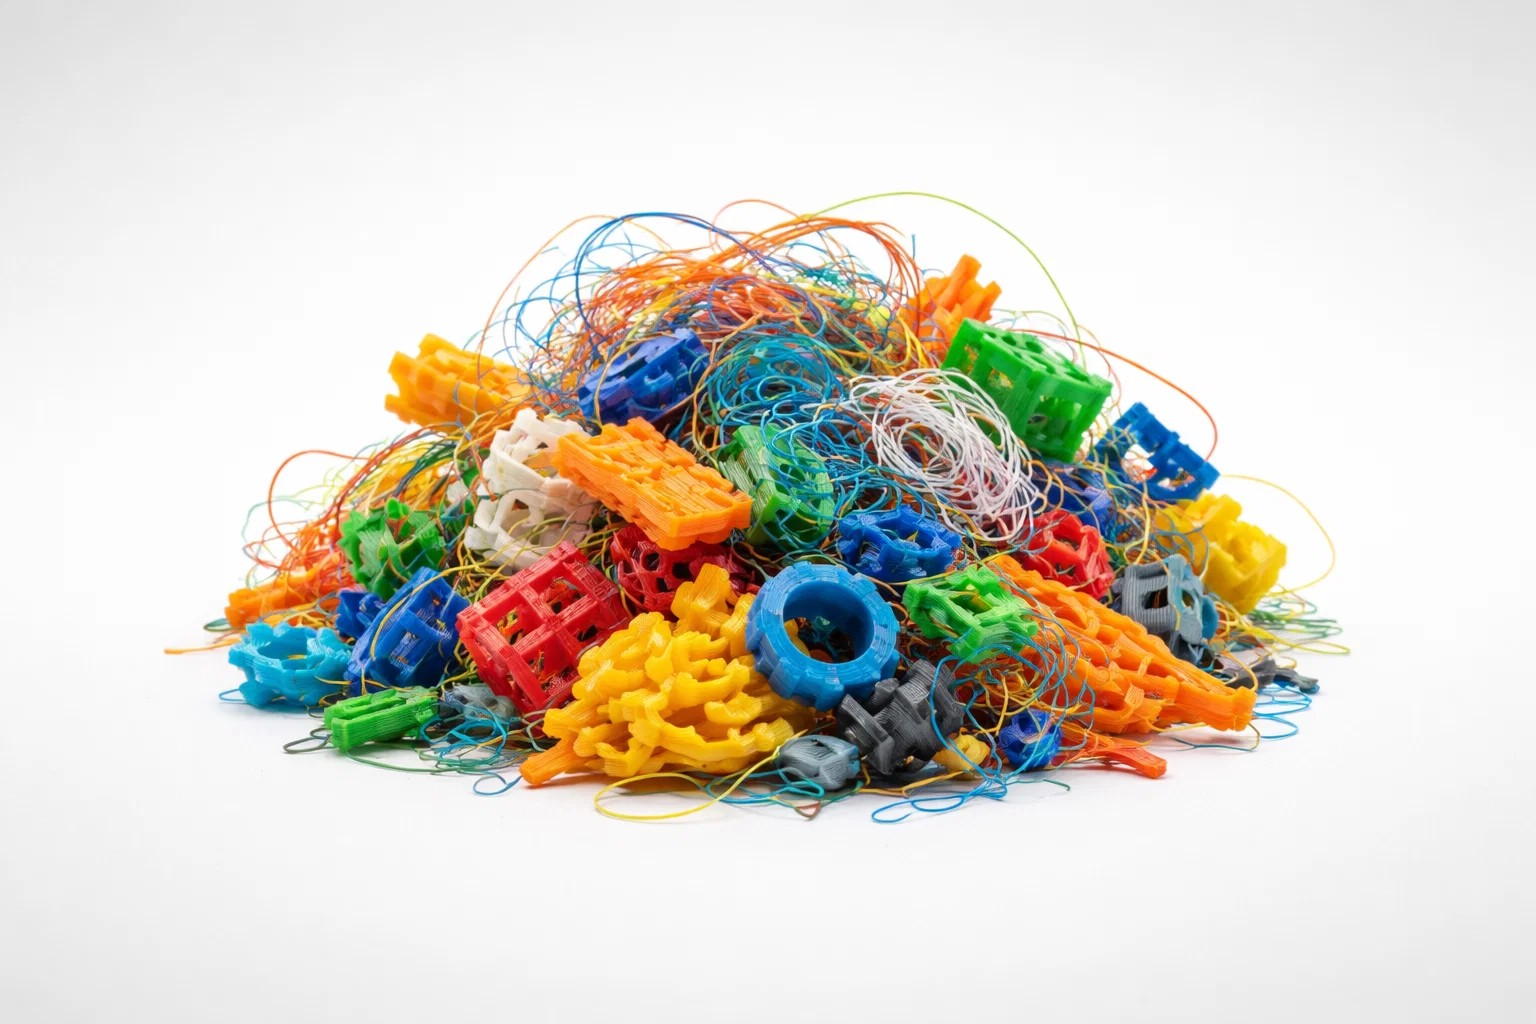
If you own a 3D printer, you already know the “hidden cost” of making things. For every clean prototype, there is a pile of supports, brims, purge lines, and failed parts that can fill a bin fast.
UM 3D print shredder is one of the simplest ways to take control of that waste. Instead of tossing bulky scraps, you can reduce them into consistent flakes that are easier to store, easier to transport, and in many workflows, ready for the next step in recycling.
This guide explains how to recycle common 3D printing plastics using a mini triturador de mesa, with a focus on real world constraints like noise, safety, contamination, and flake quality.
Why shred 3D printing waste instead of throwing it away?
Shredding does not magically “recycle” plastic by itself, but it unlocks options that are hard to achieve with whole prints.
- Lower volume, easier handling: Supports and failed prints are awkward shapes. Shredded flakes pack tightly and store better.
- More consistent processing: If you plan to reprocess material, uniform flakes feed better into small extruders.
- Better sorting: You can sort by plastic type and color before shredding, which improves the quality of any recycled output.
- Cleaner shop habits: Waste piles attract dust and mix materials. A simple collection and shredding routine keeps your workspace manageable.
Step 1: Sort your prints by plastic type first
Before you shred anything, separate waste by polymer. Mixing plastics is the fastest way to ruin recycled material.
Common 3D printing plastics you may see:
- PLA: Easiest to work with for small scale recycling. Low odor in normal conditions, but still treat dust seriously.
- ABS: More temperature resistant, but can be more sensitive to contamination. Some users notice stronger odor if scraps are heated later.
- PETG: Often recyclable in principle, but it is still important to keep it separate from PET bottles and other PET streams.
- TPU: Flexible. Shredding may require more attention to feeding and blade condition.
- Nylon and fiber filled filaments: These can be abrasive or behave unpredictably. If you are not sure, do not shred them in a small desktop unit.
Regra prática: If you cannot confidently identify the filament type, keep it out of your recycling batch.
Step 2: Remove contamination that causes weak recycled filament
A mini shredder can handle plastic. It should not be your dustbin.
Before shredding, remove:
- Adhesive residue from tape, glue sticks, or build plate adhesives.
- Metal parts such as embedded nuts, heat set inserts, magnets, screws.
- Labels and paper from storage bins.
- Non matching plastics like silicone pads, rubber feet, foam, or mixed material prints.
If parts are dirty with oils or heavy dust, wipe them down and let them fully dry. Moisture and debris can show up later as bubbles, weak layers, or inconsistent extrusion.
Step 3: Prepare pieces for smooth feeding
Desktop shredders work best when the feed is reasonable.
- Break very large parts into smaller chunks using hand tools.
- Avoid forcing long, thin pieces that can bridge in the hopper.
- Keep a steady feeding rhythm instead of dumping a full bin at once.
Step 4: Shred into consistent flakes
Your goal is not “as small as possible.” Your goal is consistent.
A practical target for small scale reprocessing is flakes that:
- Flow without clumping.
- Are not so fine that they turn into dust.
- Fit the intake requirements of your next step, whether that is an extruder or a recycler.
If your next step is filament extrusion, consistency matters because uneven chunks can cause:
- Surging feed rate.
- Temperature swings.
- Poor diameter control.
Step 5: Keep flakes clean, dry, and labeled
Once shredded, treat flakes like raw material.
- Store in sealed containers.
- Label by polymer, brand, e color.
- If you live in a humid area, use desiccant packs or dry the material before extrusion.
A small habit here saves hours later.
What a mini desktop shredder needs to do well for 3D printing waste
Industrial shredders are overkill for maker spaces. A desktop workflow is different.
1) Compact footprint for real workbenches
A desktop unit should sit near your printer or post processing area without rearranging the room. That is the difference between a system you use weekly and a machine that collects dust.
2) Low noise, because you work around it
Many users want to shred in a small studio, classroom, or office style lab. Noise matters.
When evaluating any 3D print shredder, look for:
- Enclosed cutting chamber.
- Stable frame and vibration control.
- A feeding approach that does not require constant force.
3) Practical safety features
Small machines still have serious cutting force. Good desktop safety design typically includes:
- A guarded feed opening.
- Clear jam clearing procedure.
- Easy access for cleaning without putting hands near blades.
Wear PPE. Eye protection is non negotiable. If you generate fine fragments, add a dust mask and clean the area after each session.
4) Easy cleaning between materials and colors
If you plan to recycle into filament, cleaning matters. Small leftovers from black ABS can ruin a batch of white PLA.
Look for quick access panels and a layout that lets you:
- Brush out the chamber.
- Remove trapped flakes.
- Wipe contact surfaces.
A simple closed loop workflow for maker scale recycling
A 3D print shredder is the “front end” of a loop. Here is what a realistic loop looks like.
- Collect: Keep a dedicated bin for each material.
- Inspect and sort: Remove inserts and mixed materials.
- Shred: Turn scraps into uniform flakes.
- Condition: Dry and store properly.
- Reprocess:
- Option A: Feed into a filament extruder.
- Option B: Ship flakes to a recycler that accepts your polymer.
- Print again: Use recycled filament for prototypes, test prints, and non critical parts.
Not every shop needs to extrude filament. Even if you only shred and ship, you reduce storage pain and make the material easier to handle.
Where our Mini Desktop Small Shredder fits
If you are building a quiet, clean, and repeatable recycling corner, the Mini triturador de mesa pequeno is designed for exactly that desktop environment.
- Desktop friendly size: Fits next to printers and post processing stations.
- Quiet focused operation: Better suited for classrooms and studios than industrial machines.
- Strong cutting system: Built for common plastics and steady reduction into flakes.
- Maintenance oriented design: Faster cleaning to help prevent color and material cross contamination.
Product page: Mini triturador de mesa pequeno
Troubleshooting: common issues when shredding 3D printing waste
Problem: flakes are inconsistent
- Feed at a steady pace.
- Pre break large parts.
- Avoid mixing flexible materials with rigid ones.
Problem: material jams
- Reduce piece size.
- Do not force long thin scraps.
- Stop the machine before clearing any jam.
Problem: too much dust
- Avoid over shredding.
- Clean the chamber and area after use.
- Consider a basic dust control routine for your workspace.
Problem: recycled filament prints poorly
- Confirm you did not mix polymers.
- Dry flakes before extrusion.
- Keep contamination low.
Safety checklist for desktop shredding
- Wear eye protection.
- Keep hands away from the feed opening.
- Never clear a jam while the machine is running.
- Do not shred unknown materials.
- Keep the area clean to avoid slipping on flakes.
Perguntas frequentes
Can I recycle 3D printing waste at home?
Yes, at a small scale, you can set up a workflow to collect, sort, and shred waste. Whether you re extrude filament at home or send flakes to a recycler depends on your equipment and local options.
Do I need to wash prints before shredding?
If prints have adhesive, oils, or visible dirt, clean them. The goal is to prevent contamination that later shows up as weak parts or ugly filament.
What plastics from 3D printing are easiest to recycle?
PLA is often the easiest for small scale projects because it is widely used and behaves predictably in basic recycling workflows. Regardless of material, keep polymers separate.
What flake size is best?
Choose a size that fits the requirements of your next step. For extrusion, consistency matters more than absolute size.